Military Creases
1April 23, 2013 by Ville Raivio
Military creases, or military press, are a set of razor-sharp creases ironed on the sleeves, back and body of a uniform shirt. Three of these should be pressed on the backside, beginning just below the shoulders and running down to the bottom of the hem. Two are set on the body and run down from the shoulders to the hem directly through the center of both breast pockets. One crease is pressed on each sleeve, running from the cuff to the shoulder seam. For added ironing excruciation, all creases should run razor straight and spaced evenly. Today, efficiency is key and most uniform shirts are made with sewn-in creases. Those seeking a more presentable look will iron the creases.
Products from Pukimo Raivio
 |  |
|---|---|
Cesare Attolini, light tweed jacket, size 50 EU
According to military enthusiast Joshua Curtis, military creases were born out of conveniency rather than an urge for decoration. Uniforms and shirts were best stored and transported in neat, tight folds, which lead to sharp creases on all folding points. Starch was heavily used to facilitate the packing of thousands of military apparel. What may make all of this interesting to Keikari’s reader is one Prince Charles.
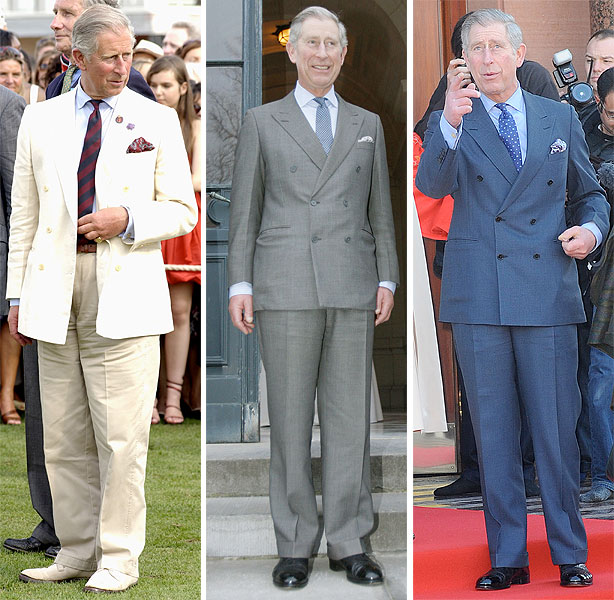
On occasion, he has sported creased sleeves on his suit and odd jackets, most likely an eccentric choice picked up during HRH’s time in the British navy. Uniform jackets can be pressed just as shirts for storage and transportation, though sleeves are usually ironed to their natural rounded state before wear. For the most part, Charles has followed suit. Pressed sleeves have at times been in the vogue during the first decades of the 20th century. The habit has since close to disappeared, save for the occasional retired military man or eccentric prince. Each to his own.
Category Eccentricities, Jackets, Suits | Tags:
There are some steps to iron military creases in shirts. Step 1: know where the creases are supposed to be. Step 2: prepare your steam iron. Step 3: prepare your ironing station and shirt. Step 4: iron the shirt to remove wrinkles. Step 5: iron the yoke and collar. Step 6: iron the back of the shirt. Step 7: continue ironing the back of the shirt. Step 8: iron the front of the shirt. Step 9: iron the buttons & buttonholes. Step 10: iron the sleeves. Step 11: finally, make last touches.